Organizing a {Diaper} Bag

how to fill a diaper bag, diaper bag, coach diaper bag, mom life, mom blog, knoxville mom blog, knoxville fashion blog, funny fashion blog, knoxville mom, pretty diaper bag

how to fill a diaper bag, diaper bag, coach diaper bag, mom life, mom blog, knoxville mom blog, knoxville fashion blog, funny fashion blog, knoxville mom,  pretty diaper bag


I put “diaper” in those fancy brackets – that I’m misusing but they’re pretty – so that if you aren’t using a diaper bag, you could still get something from this…

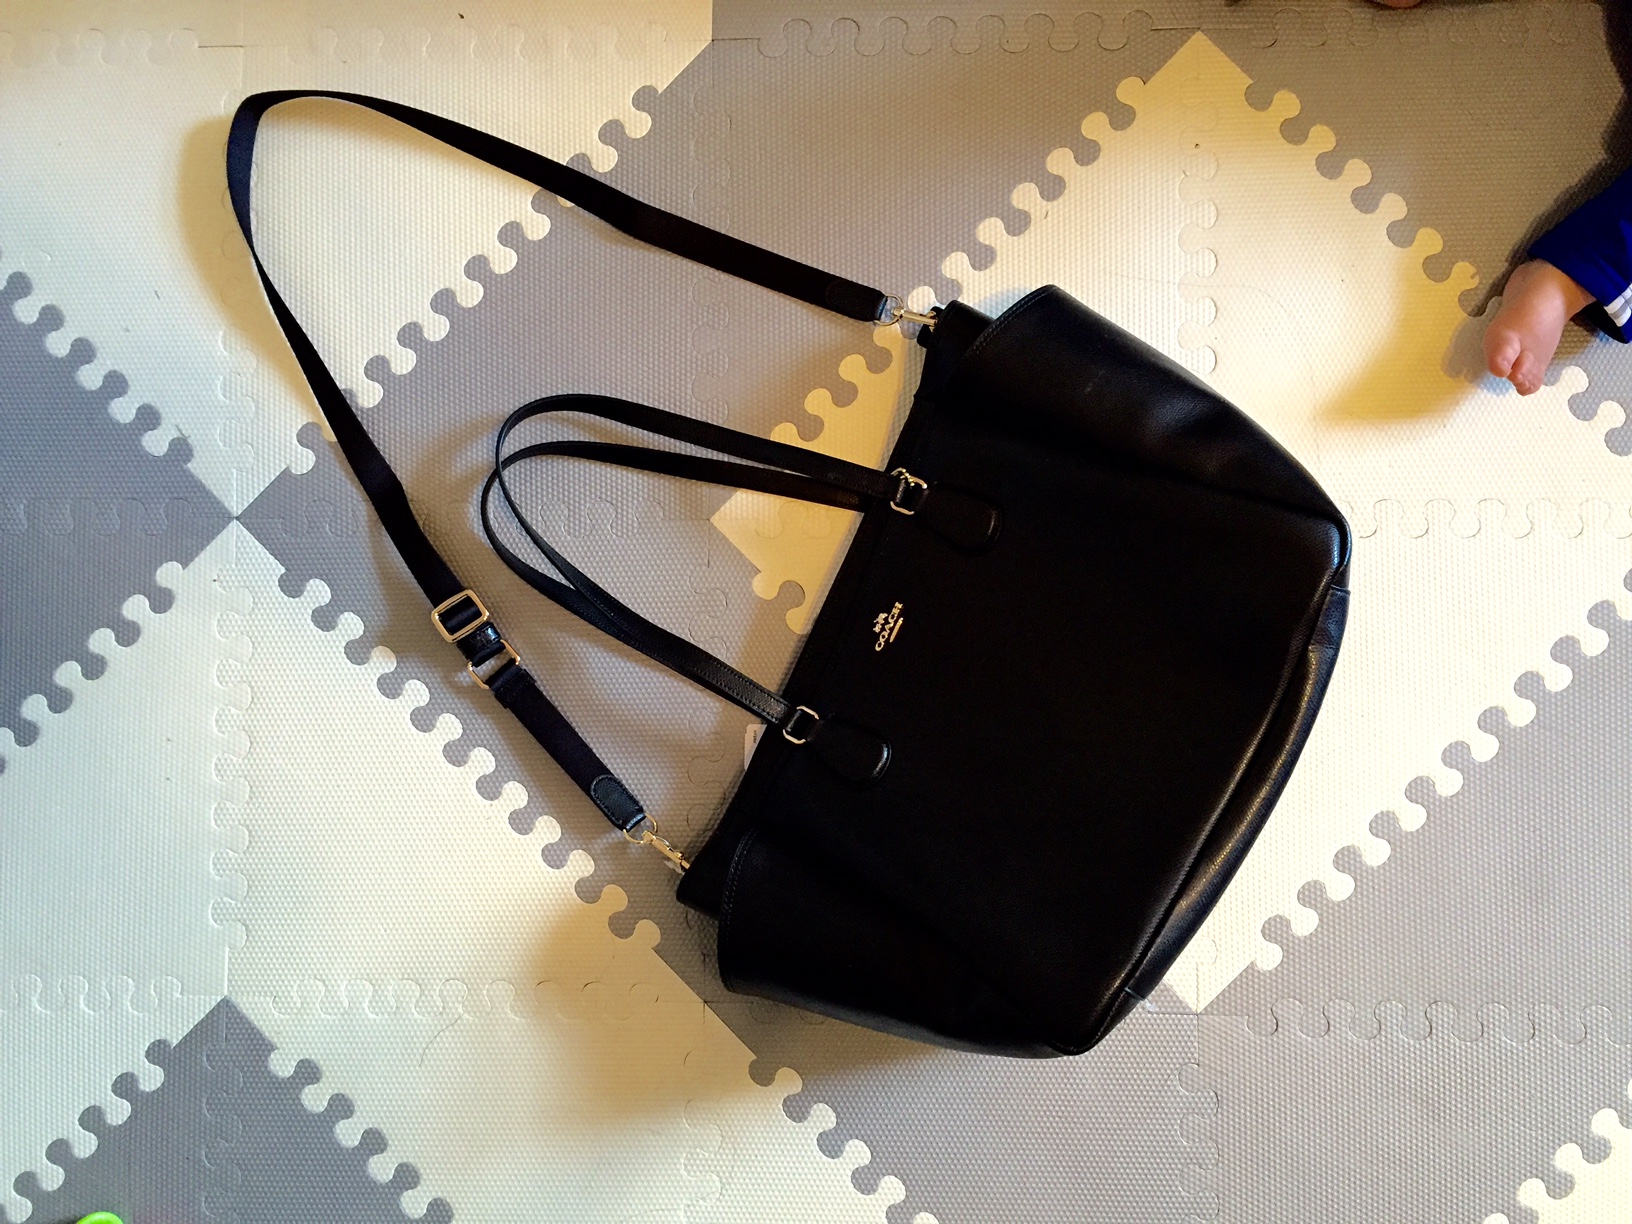
A couple months before Jackson turned one I started thinking of weening myself off the diaper bag. At least carrying a different bag. I’m thinking practically here, it’s not at all because I love a new bag ;)

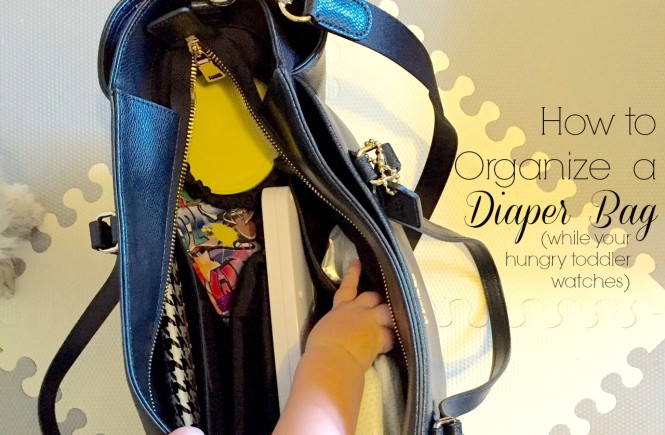
I wanted a bag that didn’t look like a diaper bag but could still function like one. My original plan was to buy a big purse and add my to-go diaper changing pad. Then I met this beauty.

It’s an actual diaper bag masquerading as a gorgeous carry-all. I wasn’t sold at first, but the more I looked at it, the more it convinced me we would be best friends.

My husband wasn’t surprised to hear that I was taking my time filling it. Anytime I get anything new that requires me to put stuff inside it, I become very very anal.

After doing some research and compiling my own list, I think I’ve got everything I need for Jackson. Now if someone will just please invent a portable potty so when he starts using public restrooms I can avoid that and unpack one from my bag. MmmKay? Thanks!

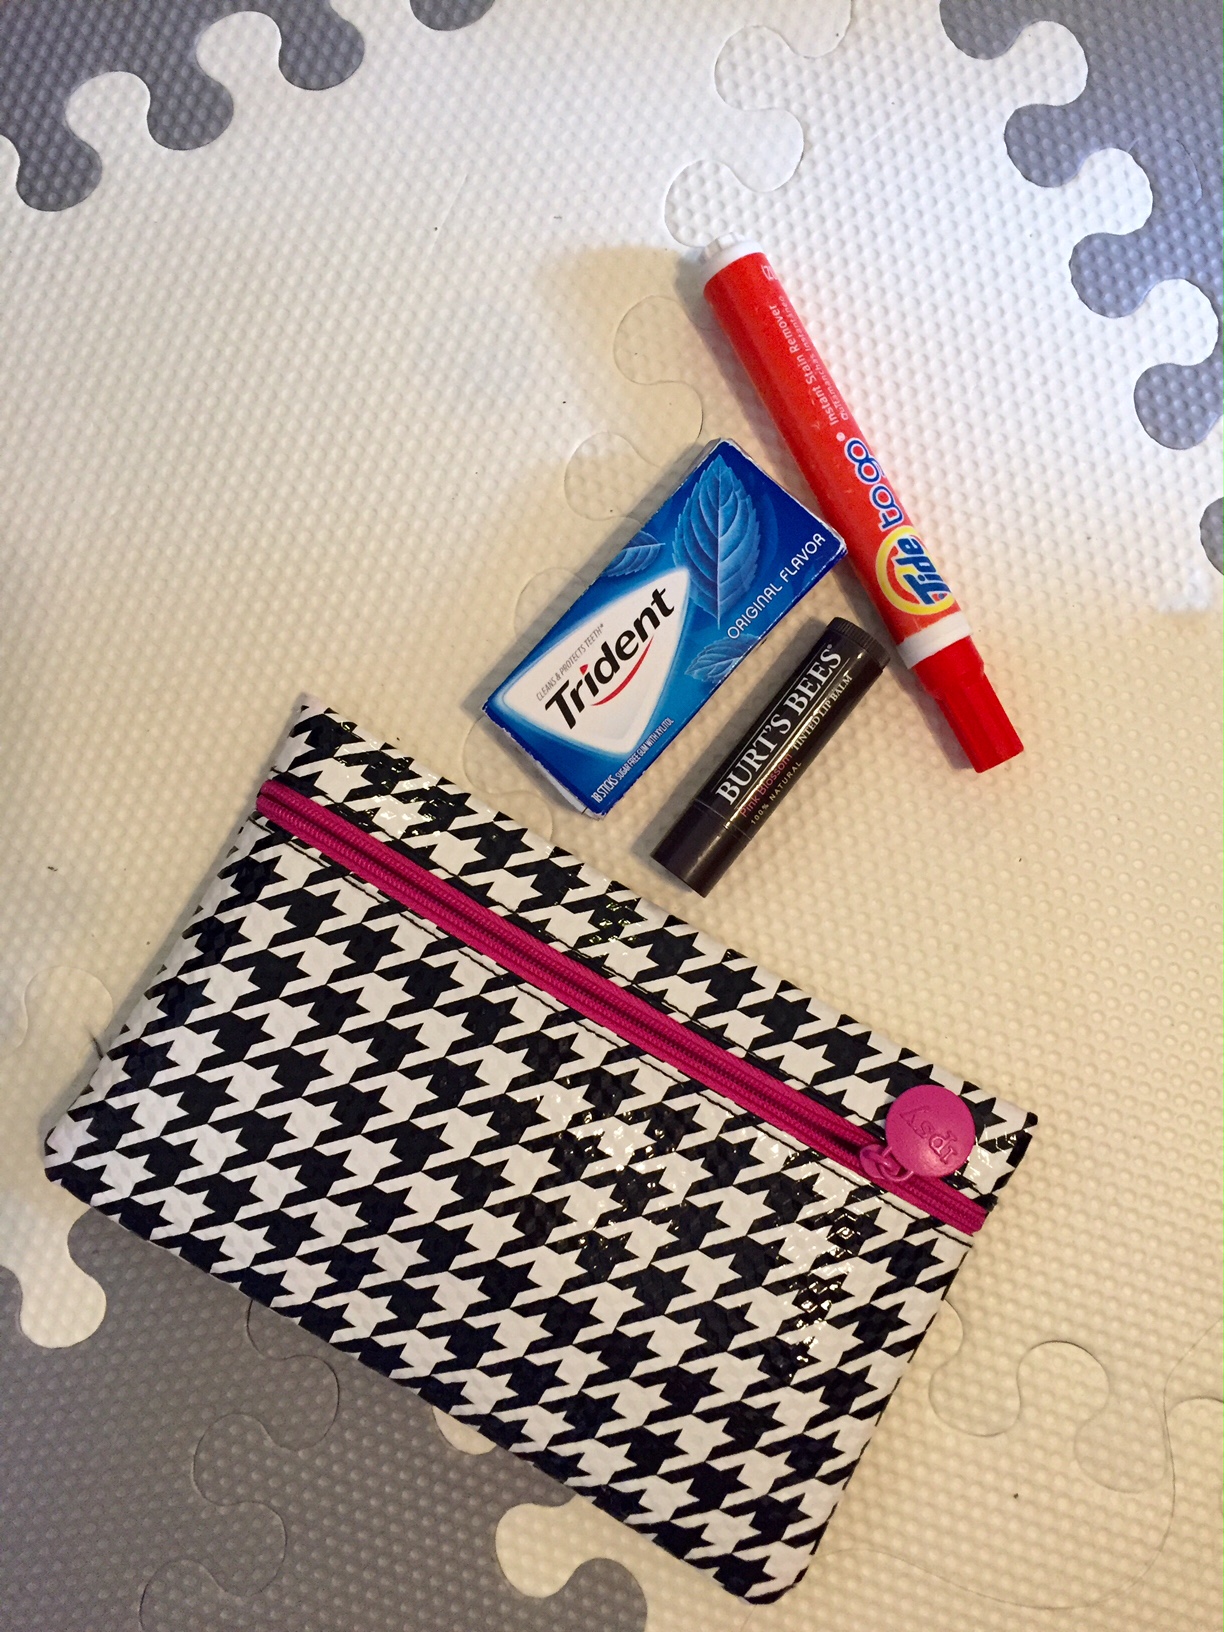
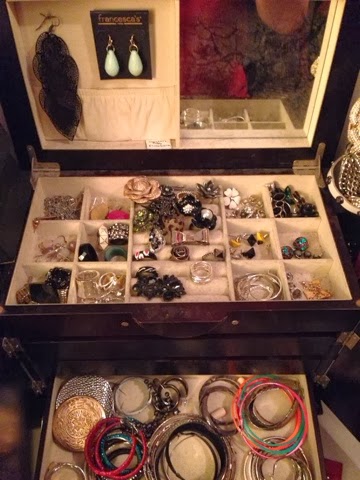
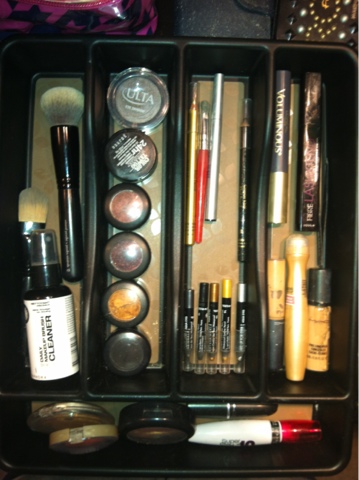
In this post I showed you how Ipsy beauty bags are my go-to organizational tool. They’re cute and keep my purse clutter free. And when I need a receipt I know exactly where it is.

After the great lipstick explosion of 2015 (it was messy, lives were changed), I’ve learned my lesson and will now put everything in a bag.

how to fill a diaper bag, diaper bag, coach diaper bag, mom life, mom blog, knoxville mom blog, knoxville fashion blog, funny fashion blog, knoxville mom,  pretty diaper bag

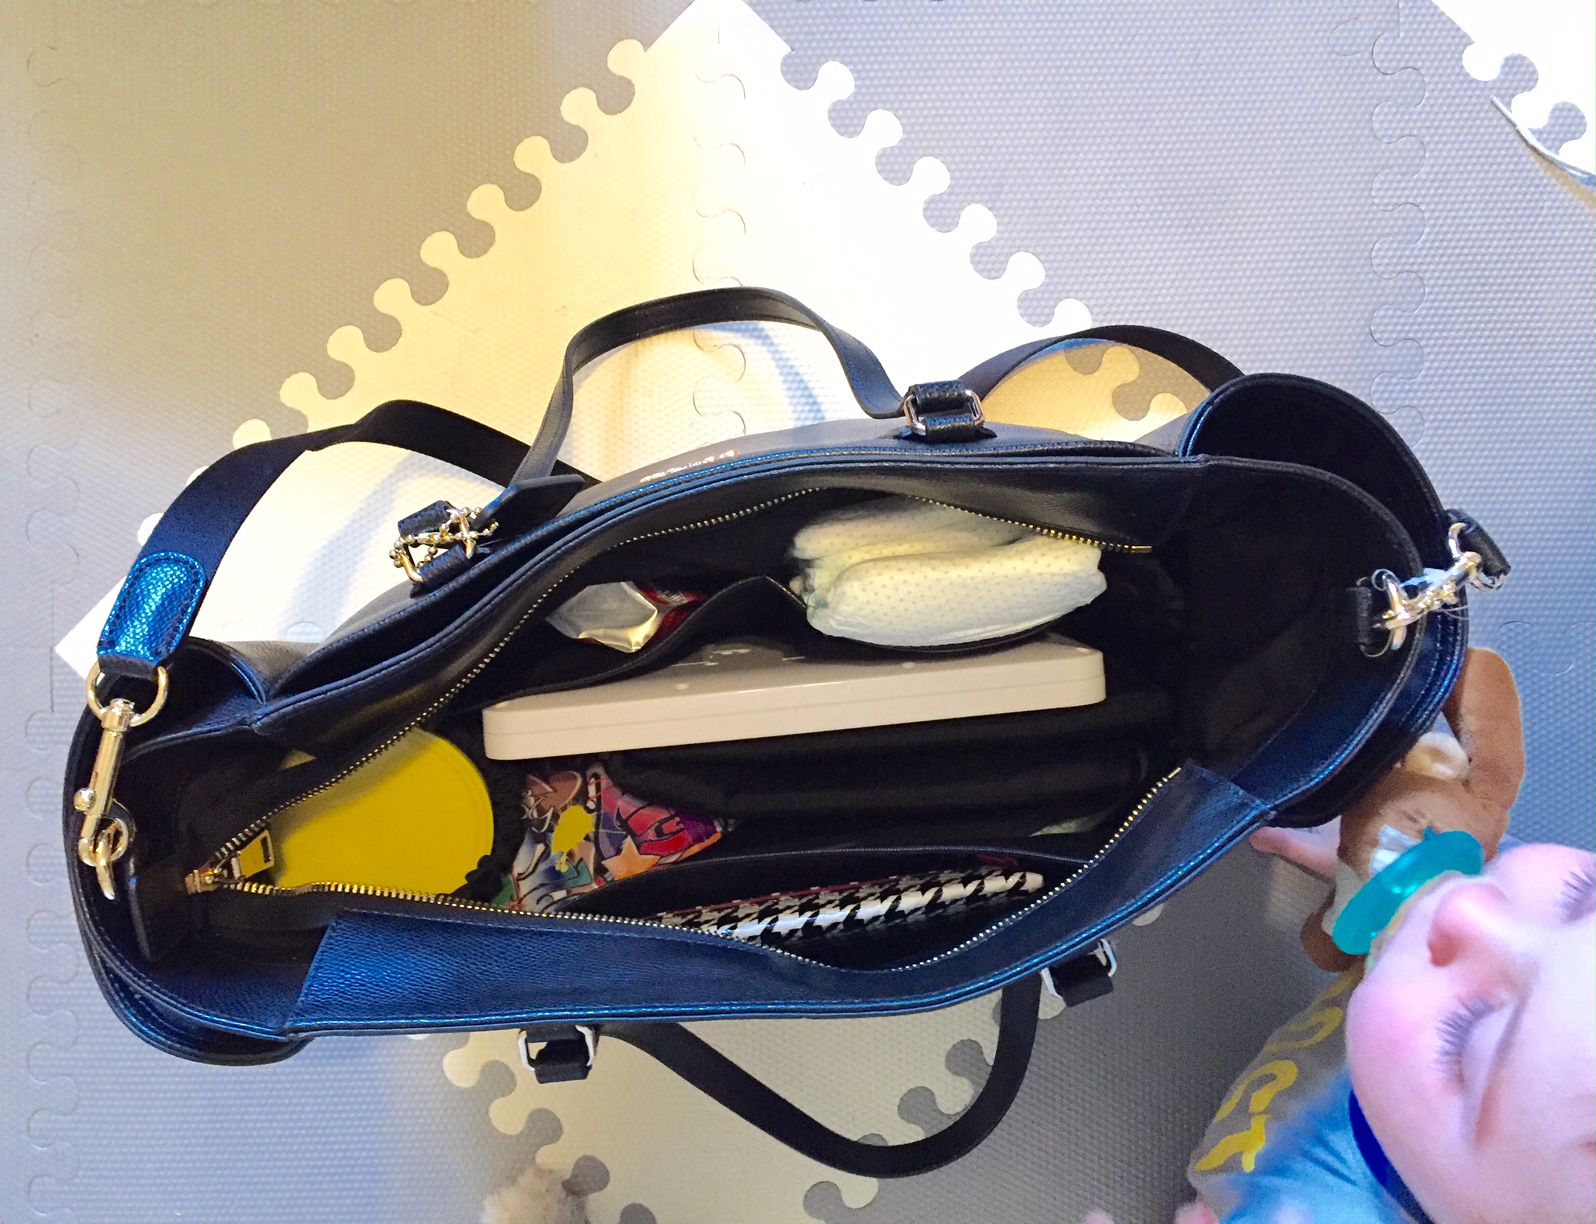
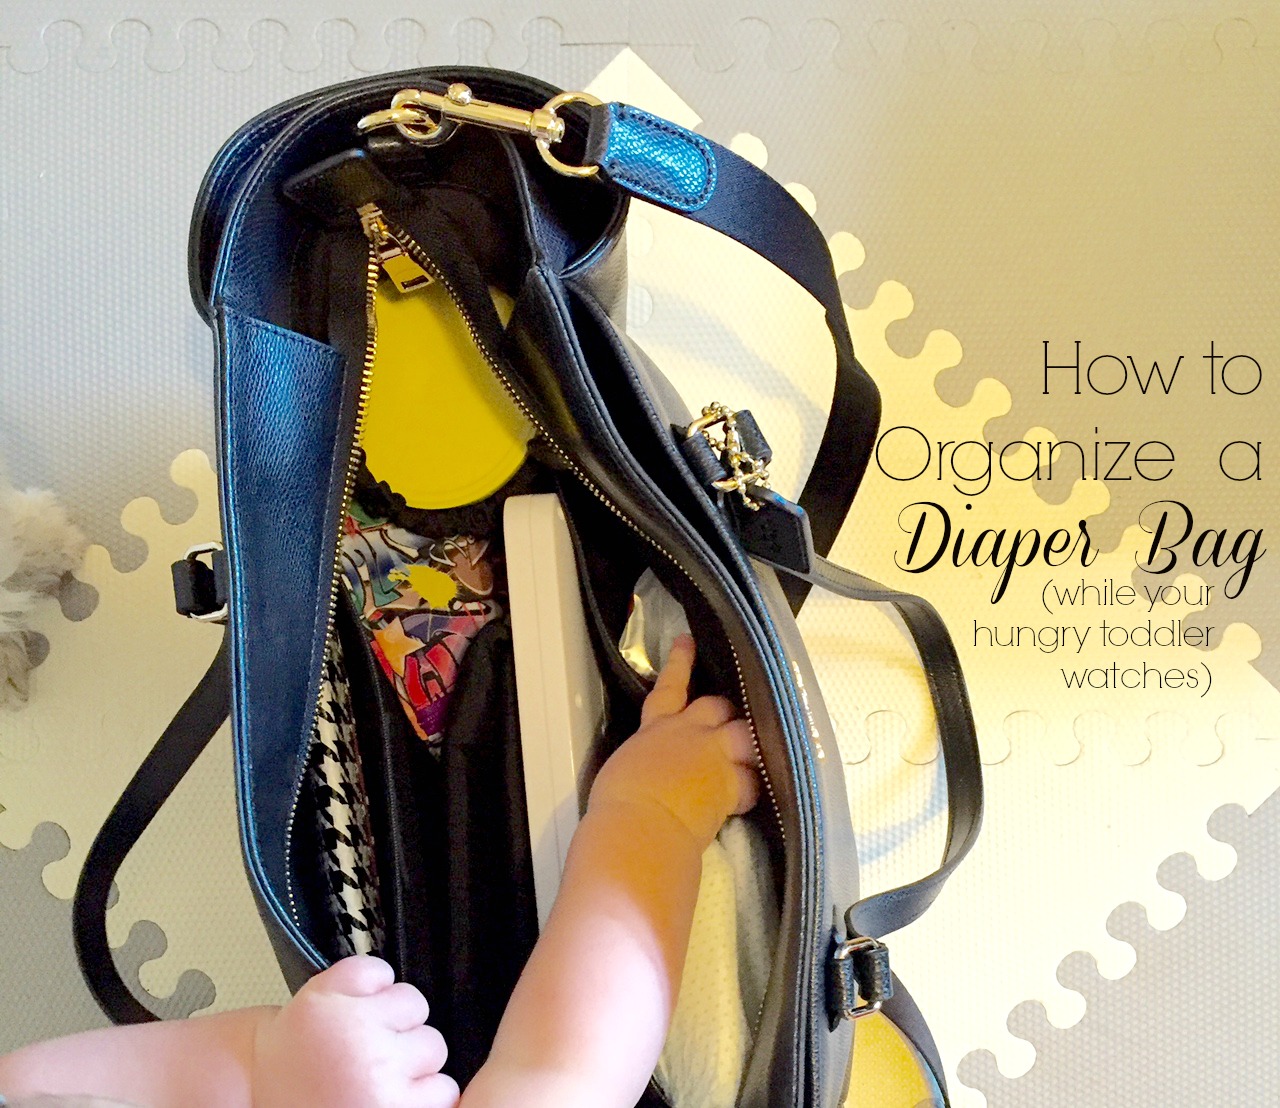
One of the things I loved about my first diaper bag? Pockets! Give every pocket a job.

Assigning pockets helps you know exactly where everything is. Most of the time when you’re handling the bag, you’ve simultaneously got a 20 pound human in your arm, so knowing exactly where to reach for something, helps A LOT.

Even if you don’t have a 20 pound human around, assigning pockets will help keep you organized and frazzle free.

how to fill a diaper bag, diaper bag, coach diaper bag, mom life, mom blog, knoxville mom blog, knoxville fashion blog, funny fashion blog, knoxville mom,  pretty diaper bag
LOOK AT HIS LASHES!! #notfairhesaboy


Do a bag check once a week (or more). I periodically go through the bag and restock everything. Wipes, diapers, swap out the toy to keep Jackson interested. During the photo shoot, I had to swap out every single packet of food – because he ate them. All four of them. Within a 20 minute period.

This is also a great practice for your purse. Go through and reorganize everything where it needs to be. Sometimes a receipt gets thrown in and not put in a bag – put it away.

This is easily something that can be put off, but it takes less than 10 minutes and it’s saved me so many times. Refilling a bag in peace and quiet is so much better than running around the house panic grabbing everything as you dash out the door.


Continue Reading

Nail Polish Clean Out

For as long as I hold the resolve, I’m going to use Fridays as a day to help you clean something out.

It is spring time, after all, so it’s a great time to get rid of what you don’t use.

Last Friday I took you through how I cleaned out my underwear drawer. So glam, I know. This Friday, it’s time to clean out your nail polishes.

And even if you don’t have strong feelings (aka: an obsession) for buying a few nail polishes (aka: over $300 worth) that I do, you still have a stash and my bet is you haven’t looked at them all together in a while.

Let’s hunker down together and whip our collection into shape!

That’s not even all of them…

First: Gather them all up.
If this means cleaning off your custom made shelf (my husband is so handy), or digging through random drawers and crannies throughout your house, doesn’t matter. Just be sure you’ve gathered every single polish you own. That way you can see what all you’ve got.

Second: Peel off the colors you’ll never wear.
Right off, you can see which ones are “so last year” or just so old you’ll never use them. Quickly whittle down what you know you wouldn’t use next week.

Third: Out with the old.
Old nail polish is THE WORST to paint with. It’s terrible for painting on, and takes forever to dry (even when you think it’s dry…it’s not). The test I use for immediately knowing if a polish is going to be worth keeping or not? Shake it. If you can still hear the ball easily moving around, then it hasn’t thickened up. If I don’t hear the ball, or if it’s only audible every once in a while? Toss it.

Fourth: Organize by color.
Unlike your closet, it would do you some good to organize your colors by shade. That way you can immediately see what color you tend to buy, and if you have multiples (a lot of OPI shades, I’ve noticed, are barely just barely different from one another).

Fifth: Buy something new.
The fact that I own this many polishes, but still think of buying new ones is a true testimony to the fact that I have a problem (<— see there, I admitted it. Ok, so I’m not doing so bad ;)
However, now that we know the great polishes we’ve enjoyed from Crabtree & Evelyn won’t be so accessible anymore, it would be a good time to stock up on their cute colors for spring/summer.

Take yourself shopping for a new color as a reward for being so good and cleaning them out! I know my husband was just thinking that I needed some more ;)

Have a wonderful weekend!

Continue Reading

How to Clean Out Your Jewelry Box

I understand very well how cleaning and re-organizing can be a daunting task.

If I look up from my computer, I can easily get overwhelmed with all the ways my office needs to be cleaned out. But I also know that there’s a productive way to clean, and a non-productive way.
It really helps to have the process broken down into manageable steps so that the task doesn’t seem so daunting.
Here’s an easy 3 step process to productively clean out your jewelry box (with picture proof that I’ve done it and it works). 
1. Put everything in categories. 
If you’ve ever read a cleaning tutorial by me (like last weeks makeup bag clean out post) you’ll know that the first thing I like to do is put everything in categories. So put all your bracelets together, necklaces, hoop earrings, studs, watches – get them all together. This really helps the whole process because it’s something you can easily do right off that shows you progress and gets you to the next step which is…
2. Go through each category and purge.
When everything is separated out into categories it helps to see what you have that could be alike. I found that I have a plethora of stud earrings that look alike, so I got rid of a lot of duplicates (especially the duplicates that looked old).
While you’re going through each category ask yourself these questions…

A. When was the last time I wore this?

B. Did it make me feel good?
C. Does it still look good? (IE: Is it tarnished? Beat up?)
These big gold and black earrings got cut from their spot in my jewelry box because every time I would see them I’d think, “Oh I’m definitely not wearing those.” That was a big clue to me when I sat down to clean everything out, that they needed to go.

This ring got the boot because it was starting to turn. And you should NEVER wear jewelry that’s visibly changing colors (unless it’s a mood ring and it’s 1984).

3. Organize what you put back.
After you’ve purged your collection (you can even do the three categories like I once talked about with your closet: keep/give away/try again) go through each section and organize it. Put all your big hoops together, all your studs together and so on and so forth. 
Clean = Happy!

It’s important to have a clean jewelry box in the same way it’s important to clean out your closet. You need to know what you have so you can easily wear it and feel good. It’s also great not to have to dig through a mess when you’re trying to run out the door.

Here’s to a happy/clean/organized 2014!

Continue Reading

$7 Away from Happiness

In case you missed this amazingness…
Last Tuesday’s segment included an idea that I think deserves a pat on the back.

No, it didn’t come from Pintrest :-p (to no one in particular), I started this a long time ago. Back in the days when we literally pinned things to boards.

I’m talking about the silver ware tray as a makeup drawer organizer. I know, genius right? Thank you, that’s so unexpected ;)

Don’t worry I’m almost done tooting my own horn…

What made a great idea even better (I said “almost” done!) was when I went to Wal-Mart to purchase an updated silverware tray.

In preparation for the show, I realized looking at my old silverware holder, that there’s no WAY I could show that on TV. It was white, which meant every single little makeup stain, leak or accident that had happened since I last washed it (…eeeh I can’t remember when that even was) was showing up making it look disgusting.

So a trip to Wal-Mart and $7 later, I was on my way home with a brand new version of my genius idea.  And this time it was even better!! I picked up a black tray with a beige inside. What’s so great about that, you ask? The makeup stains my other one highlighted so obnoxiously, will no longer be so obvious!

Now if something leeks, spills, or falls out I won’t have to stare at if for months no matter how much bleach I take to it.

Seven dollars, friends, made me a very happy girl.

Try this little organizational tip in your makeup drawer! I will admit, not all of my makeup fits as tidy as I’ve lead you to believe (that’s about 1/4th of my eyeshadow collection). But once you clean out what you don’t use, and put into categories and compartments everything you do, you’ll at least be able to find things more quickly then you would rooting around a dirty drawer.

Yay for my genius idea! Ok that’s the last time, I promise. You can write and tell me how great my idea was and ways you’re using it at thespiffblog@gmail.com ;)

Continue Reading