Flawless Radiance Brush

Honestly, I really enjoyed being pregnant in the summertime. I don’t sweat very easily and am not often hot, so the 90 degree temps never really bothered me. Not to mention the fact that my husband is quite the opposite so I was finally comfortable in our 60 degree home.

What I enjoyed the most was not having to worry about my tan. I felt as if I could get away with being super white since I was pregnant (you can’t judge me I’m pregnant).

The one thing I didn’t give up (and don’t regardless of the season) was putting bronzer on my face. After applying foundation, I always contour my face with some bronzer to add color and dimension back in (I make an “E” starting at my forehead, hitting my cheek bones and finishing along my jaw line). This brush is one I reviewed last year, but it’s still doing an amazing job at applying just the right amount of color…

bronzer brush

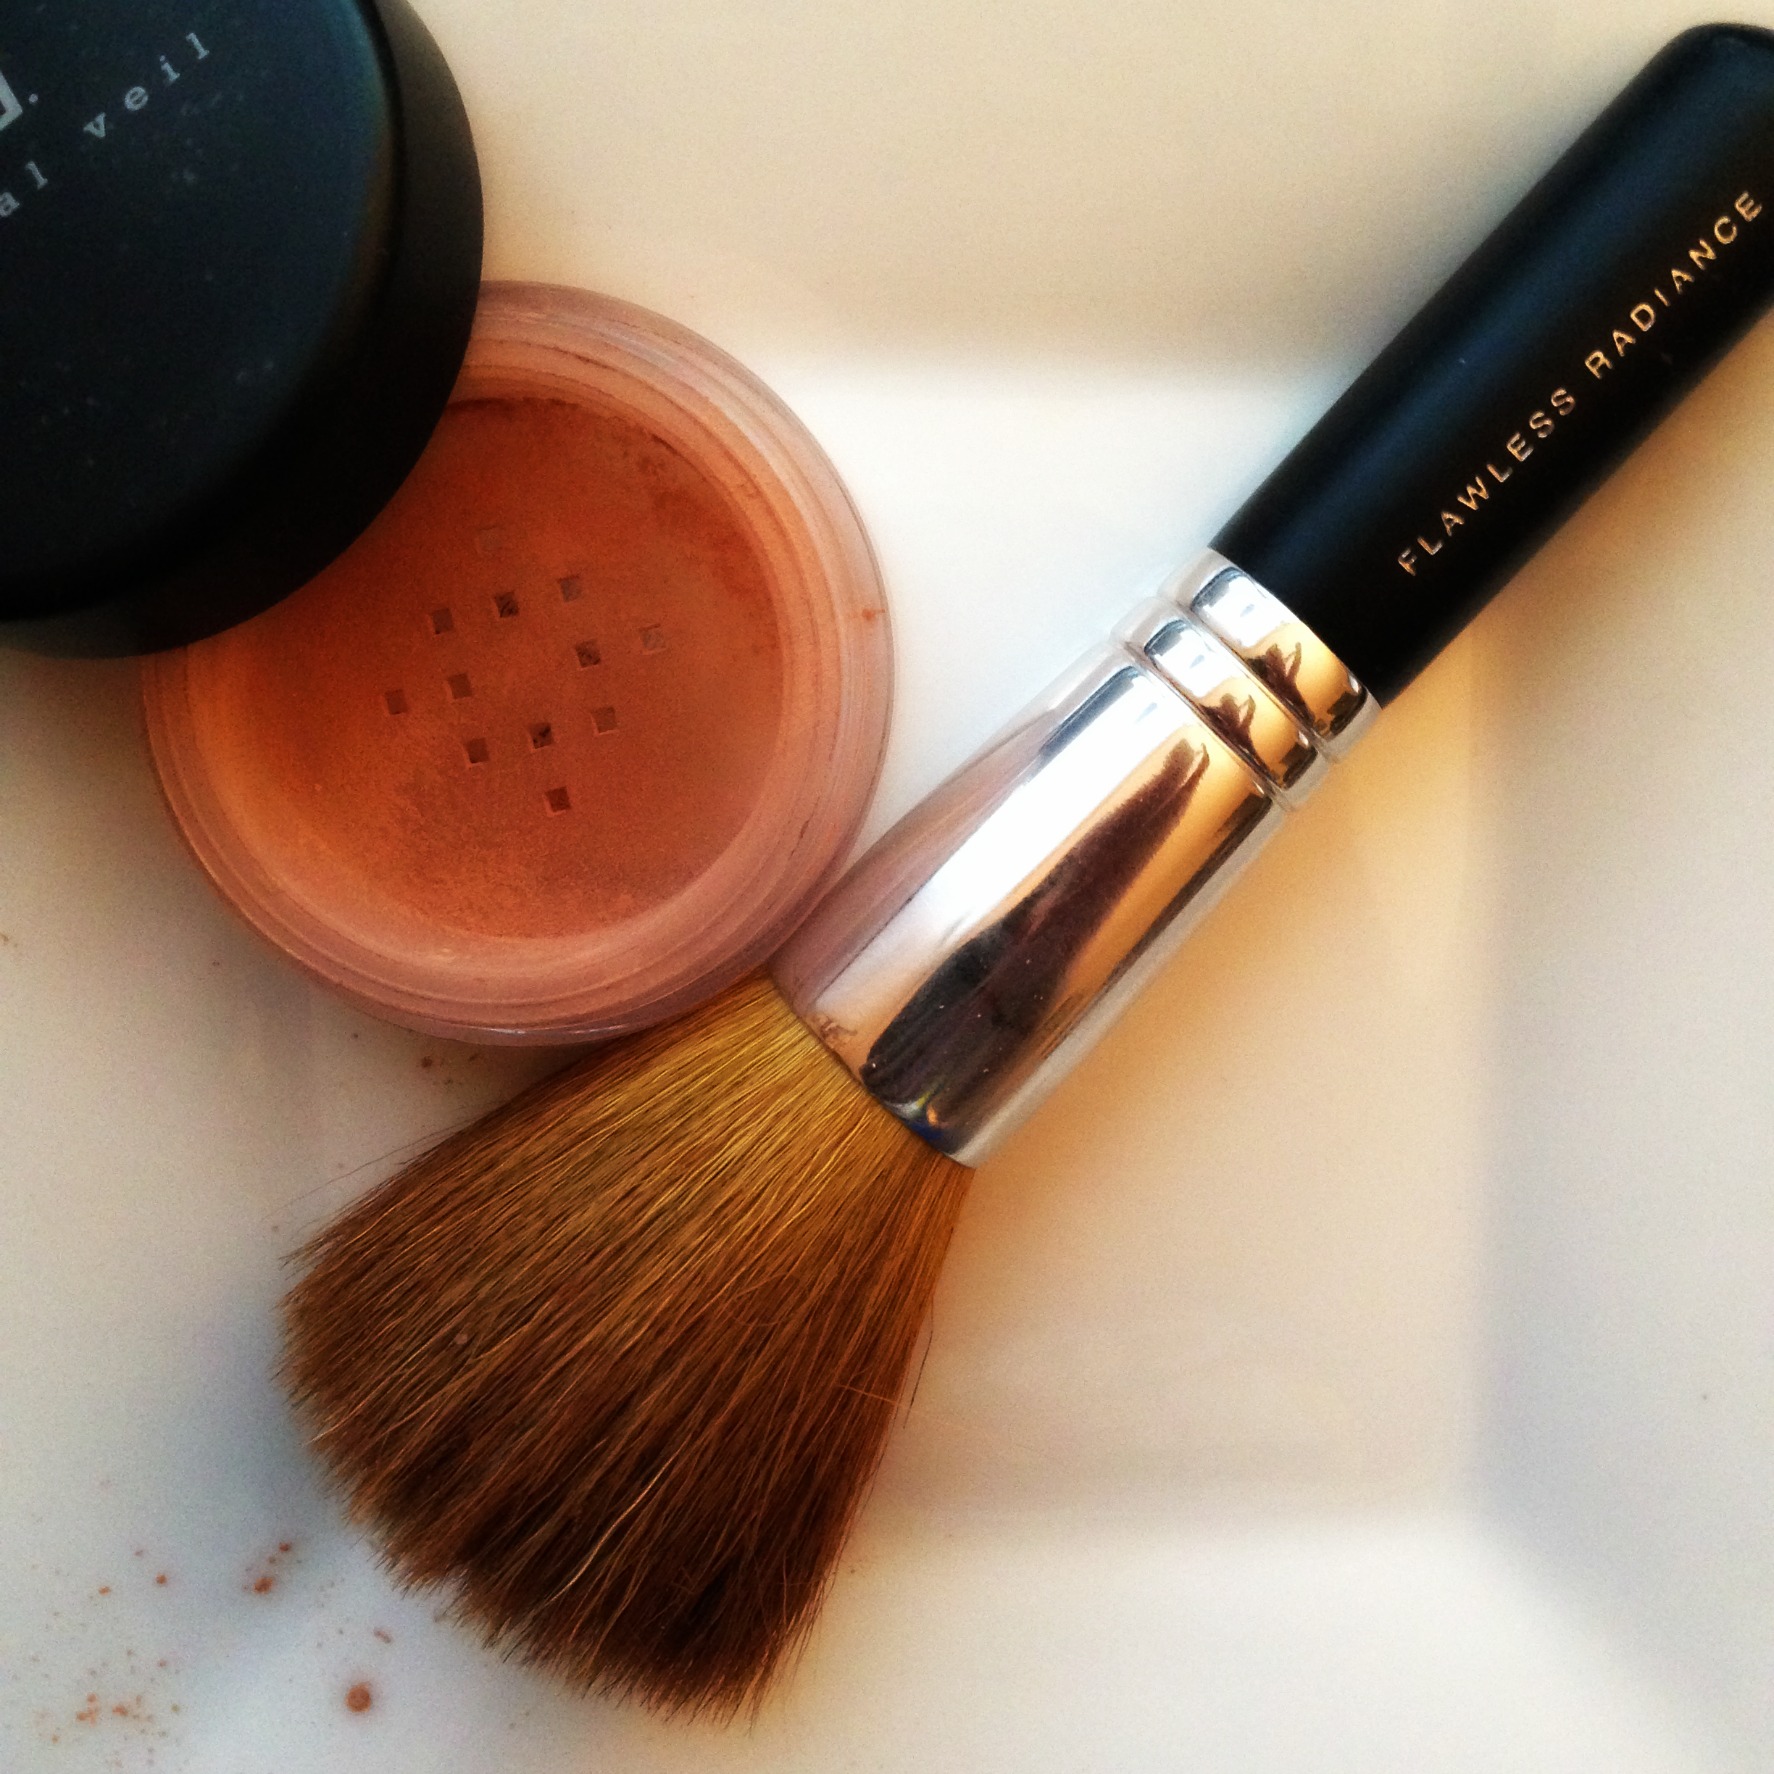
Boy, does Bare Minerals know how to name their brushes or what? Who can say no to “flawless radiance“? On top of that, I’m going to go ahead and skip to the even better part, it’s only $22.

Now that I’ve got your wallet and your face considering it, let me tell you why it’s so great…

I’ve always been a big advocate for buying good brushes. Because I truly believe a good makeup brush takes your look from “homemade” to “professional” faster than anything else. This is true with any brush you would use on your face, but most recently I learned just how true it is when it comes to a bronzer brush.

I’ve been practicing what I preach by having great eye shadow brushes for years now. But I was getting a failing grade in the bronzer and blush brush category. “Oh any old thing will do,” is what I thought to myself as I picked up my old foundation brush to wipe the bronzer all over my face. Then I would get frustrated with the bronzer for not looking right…and the cycle would continue.

Then I went to Bare Minerals one day to talk about their new foundation. The girl applied it and some bronzer on my face (the very same bronzer I’d been failing with) and it looked fantastic! The difference? The brush.

You can believe I bought up that brush then and there! Gal pals, it makes such a huge difference. I mean HUGE difference in how the bronzer looks on my face. I’m loving how it blends and even how the bristles feel on my skin – it’s become my favorite part of the makeup process for sure.

Don’t waste any more time being frustrated with bad bronzer – get a new brush!!

Will you consider using bronzer all year?

Continue Reading

Easy Glamorous Eyes for the Non-Makeup Enthusiast

Tonight is the annual Christmas party for the company I work for. It’s completely my brain child. One that I birthed, reared and have to clean up after.

So I’m going to try and make things as easy as I can on myself tomorrow. Starting with my makeup.

I’m going to demonstrate the look on my model, Dina, here. Thanks Dina!

makeup, how to do smokey eyes, smokey eyes, eye shadow, easy party makeup look, makeup, party makeup, eye shadow

Start with a festive shadow. My favorite for this is gold because it really brings out the warmth of my brown eyes. And I think the flecks I have going on in there are gold. The mirror is way too far away for me to confirm that, and let’s face it, you probably don’t even care.

Look at what color the flecks in your eyes are and find a shadow that mimics it.

Apply that all over your lid (lightly) and put a little under your eyes. Ninety percent of the time I apply shadow below my eye as well because I like how it makes them look bigger, but you don’t have to if you don’t want to. What I’ll do next is add a little more shadow near my lash line. I always start with a light layer because, much like salt, it’s a lot easier to add more than it is to take it away. I usually do go back and fill it in a little more on my lid, though.

Next, get your eye liner. Take a black eye pencil (you do need an eye pencil for this – not any other liner) and run it over your lid, making it kind of thick. It doesn’t have to be perfect because you’re going to smudge it. Ok, now smudge it. Get it there and mess it up! Ok stop.

Now take the pencil and run it really close to your lash line this time. I like a little definition at my lashes to help them look fuller. This line you do want to be a bit more perfect, but if you mess up, it’s ok. Just smudge it again with your finger.

What this creates is kind of a gradient from black to whatever shadow you’ve gone with. Aka: an awesome party look!

Continue Reading

The Beauty Product You Needed Yesterday

This Beauty Blender Sponge is a thrill ride. You may not have the words “thrill ride” pop in your head when you look at it, but oh what fun it is to try.

 beauty blender sponge, sponge, makeup sponge, how the beauty blender sponge works, best tool for applying concealer, how to apply concealer, concealer

First, you don’t use it the way it is. You’ve got to get it damp. Once you do that, it expands almost doubling in size!

Then once you’ve patted it dry, the magic continues with the way it makes your concealer smooth out over your face, causing any blemish or spot you’re trying to cover up – disappear! It’s magical!

I’ve used it with my powder foundation as well, touching up spots towards the end of the day and it continues to help my make up melt into my face doing exactly what I want it to do. After a while it does get all dirty with your makeup stains, but that doesn’t mean the fun has to stop!

Once it gets to that point, you can either wash it with the special wash they sell or just use a gentle face cleanser…and BOOM it’s like new again! WILL THE FUN EVER END!? …Actually you do have to buy a new one after about 3 months or so. But the good news is you only have to pay around $20 for this little bucket of awesome.

There are multiple people on my Christmas list who will be getting one of these – go buy one for yourself and join the party!

Continue Reading